

Required and optional permissions
You can mark each permission as required or optional. The choice changes the install experience for creators.
Optional permissions are good for opt-in functionality. If a creator declines an optional permission, your app should still work, just without that feature.
Set up permissions
1
Open your app's permissions tab
- Go to the Developer dashboard.
- Select or create an app.
- Select the Permissions tab.
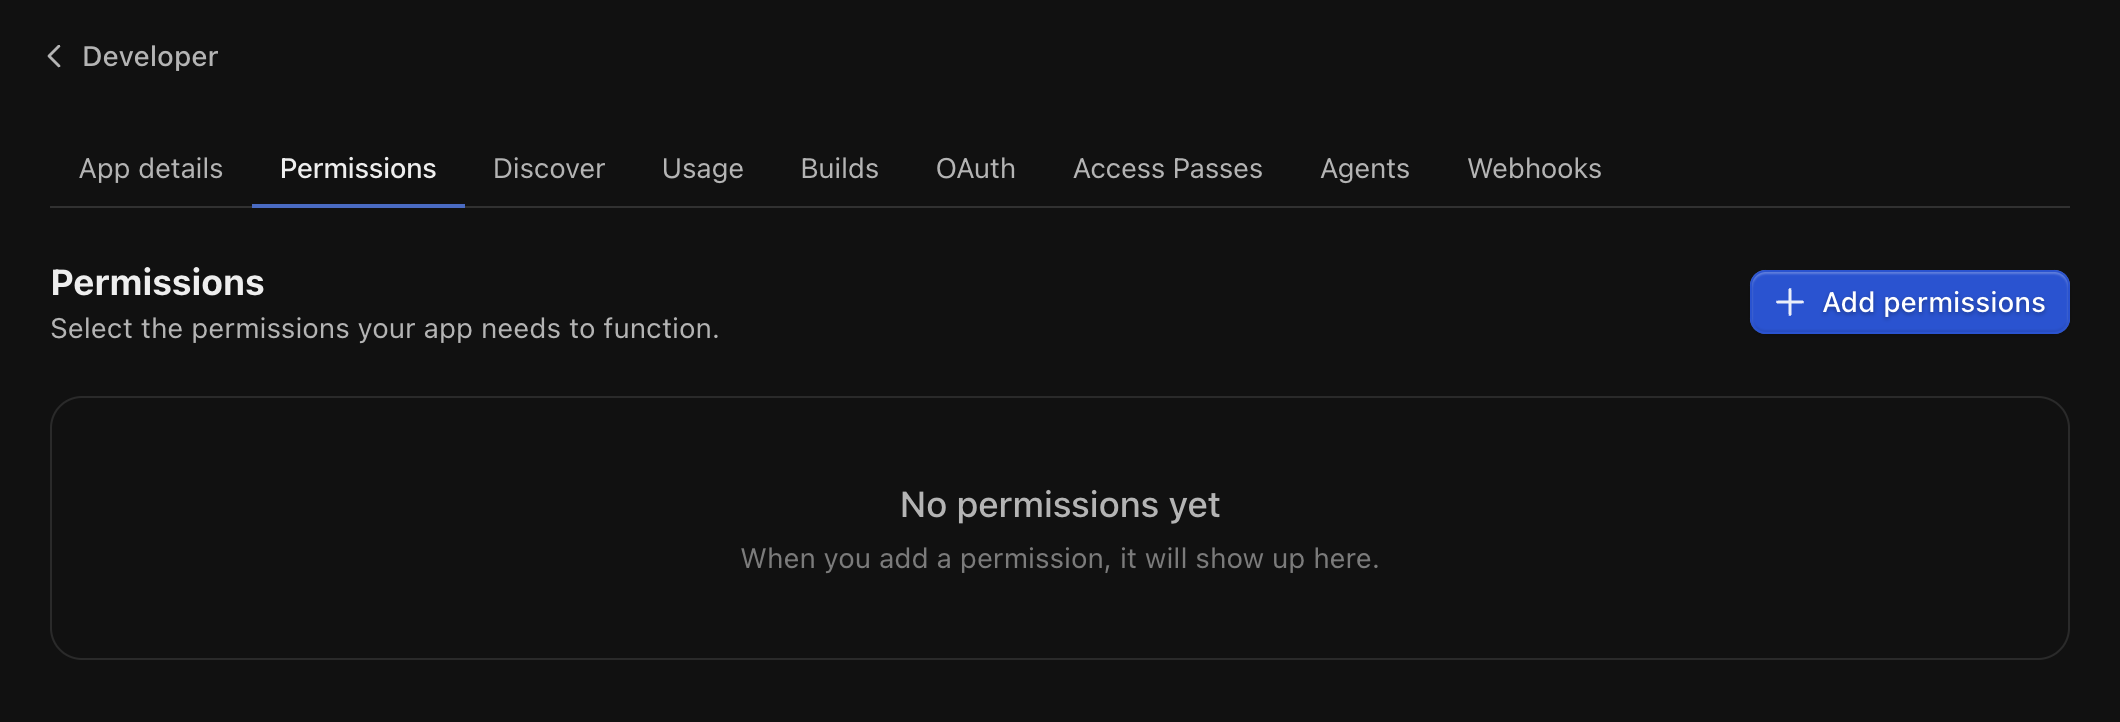
2
Add the permissions you need
Select Add permissions, select what your app needs, and confirm.Cross-reference the API endpoints you plan to call and add every permission they require.
3
Configure each permission
For each one: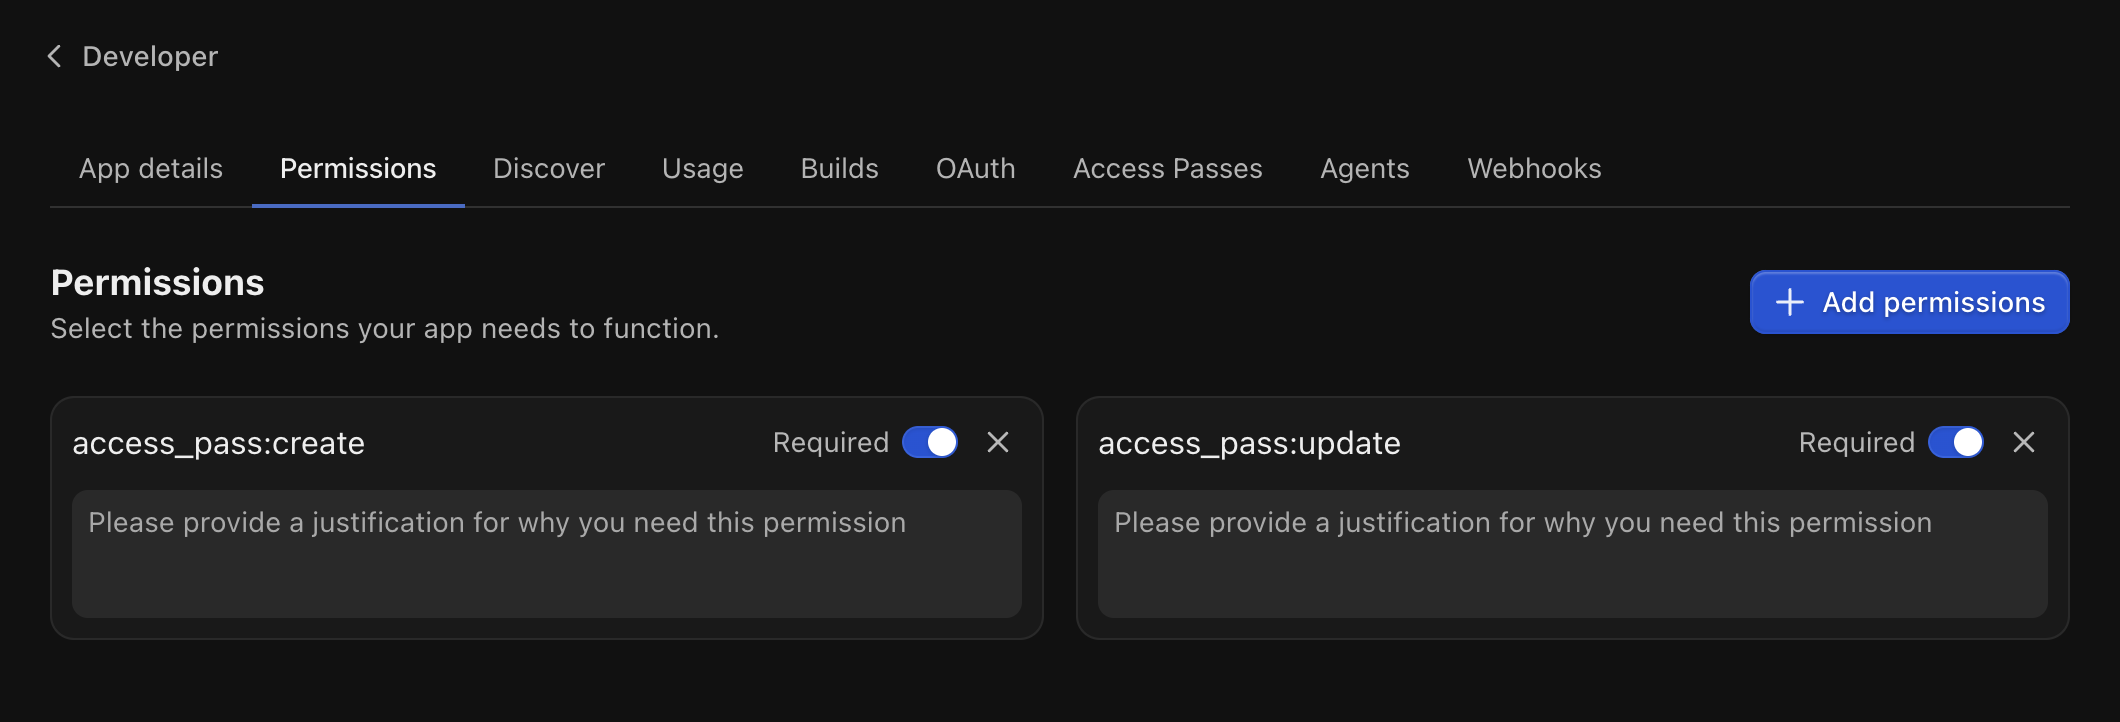
- Write a short justification explaining why the app needs it. Creators see this at install.
- Mark it required or optional.
4
Save

5
Install on a test company
Visit your direct install link: 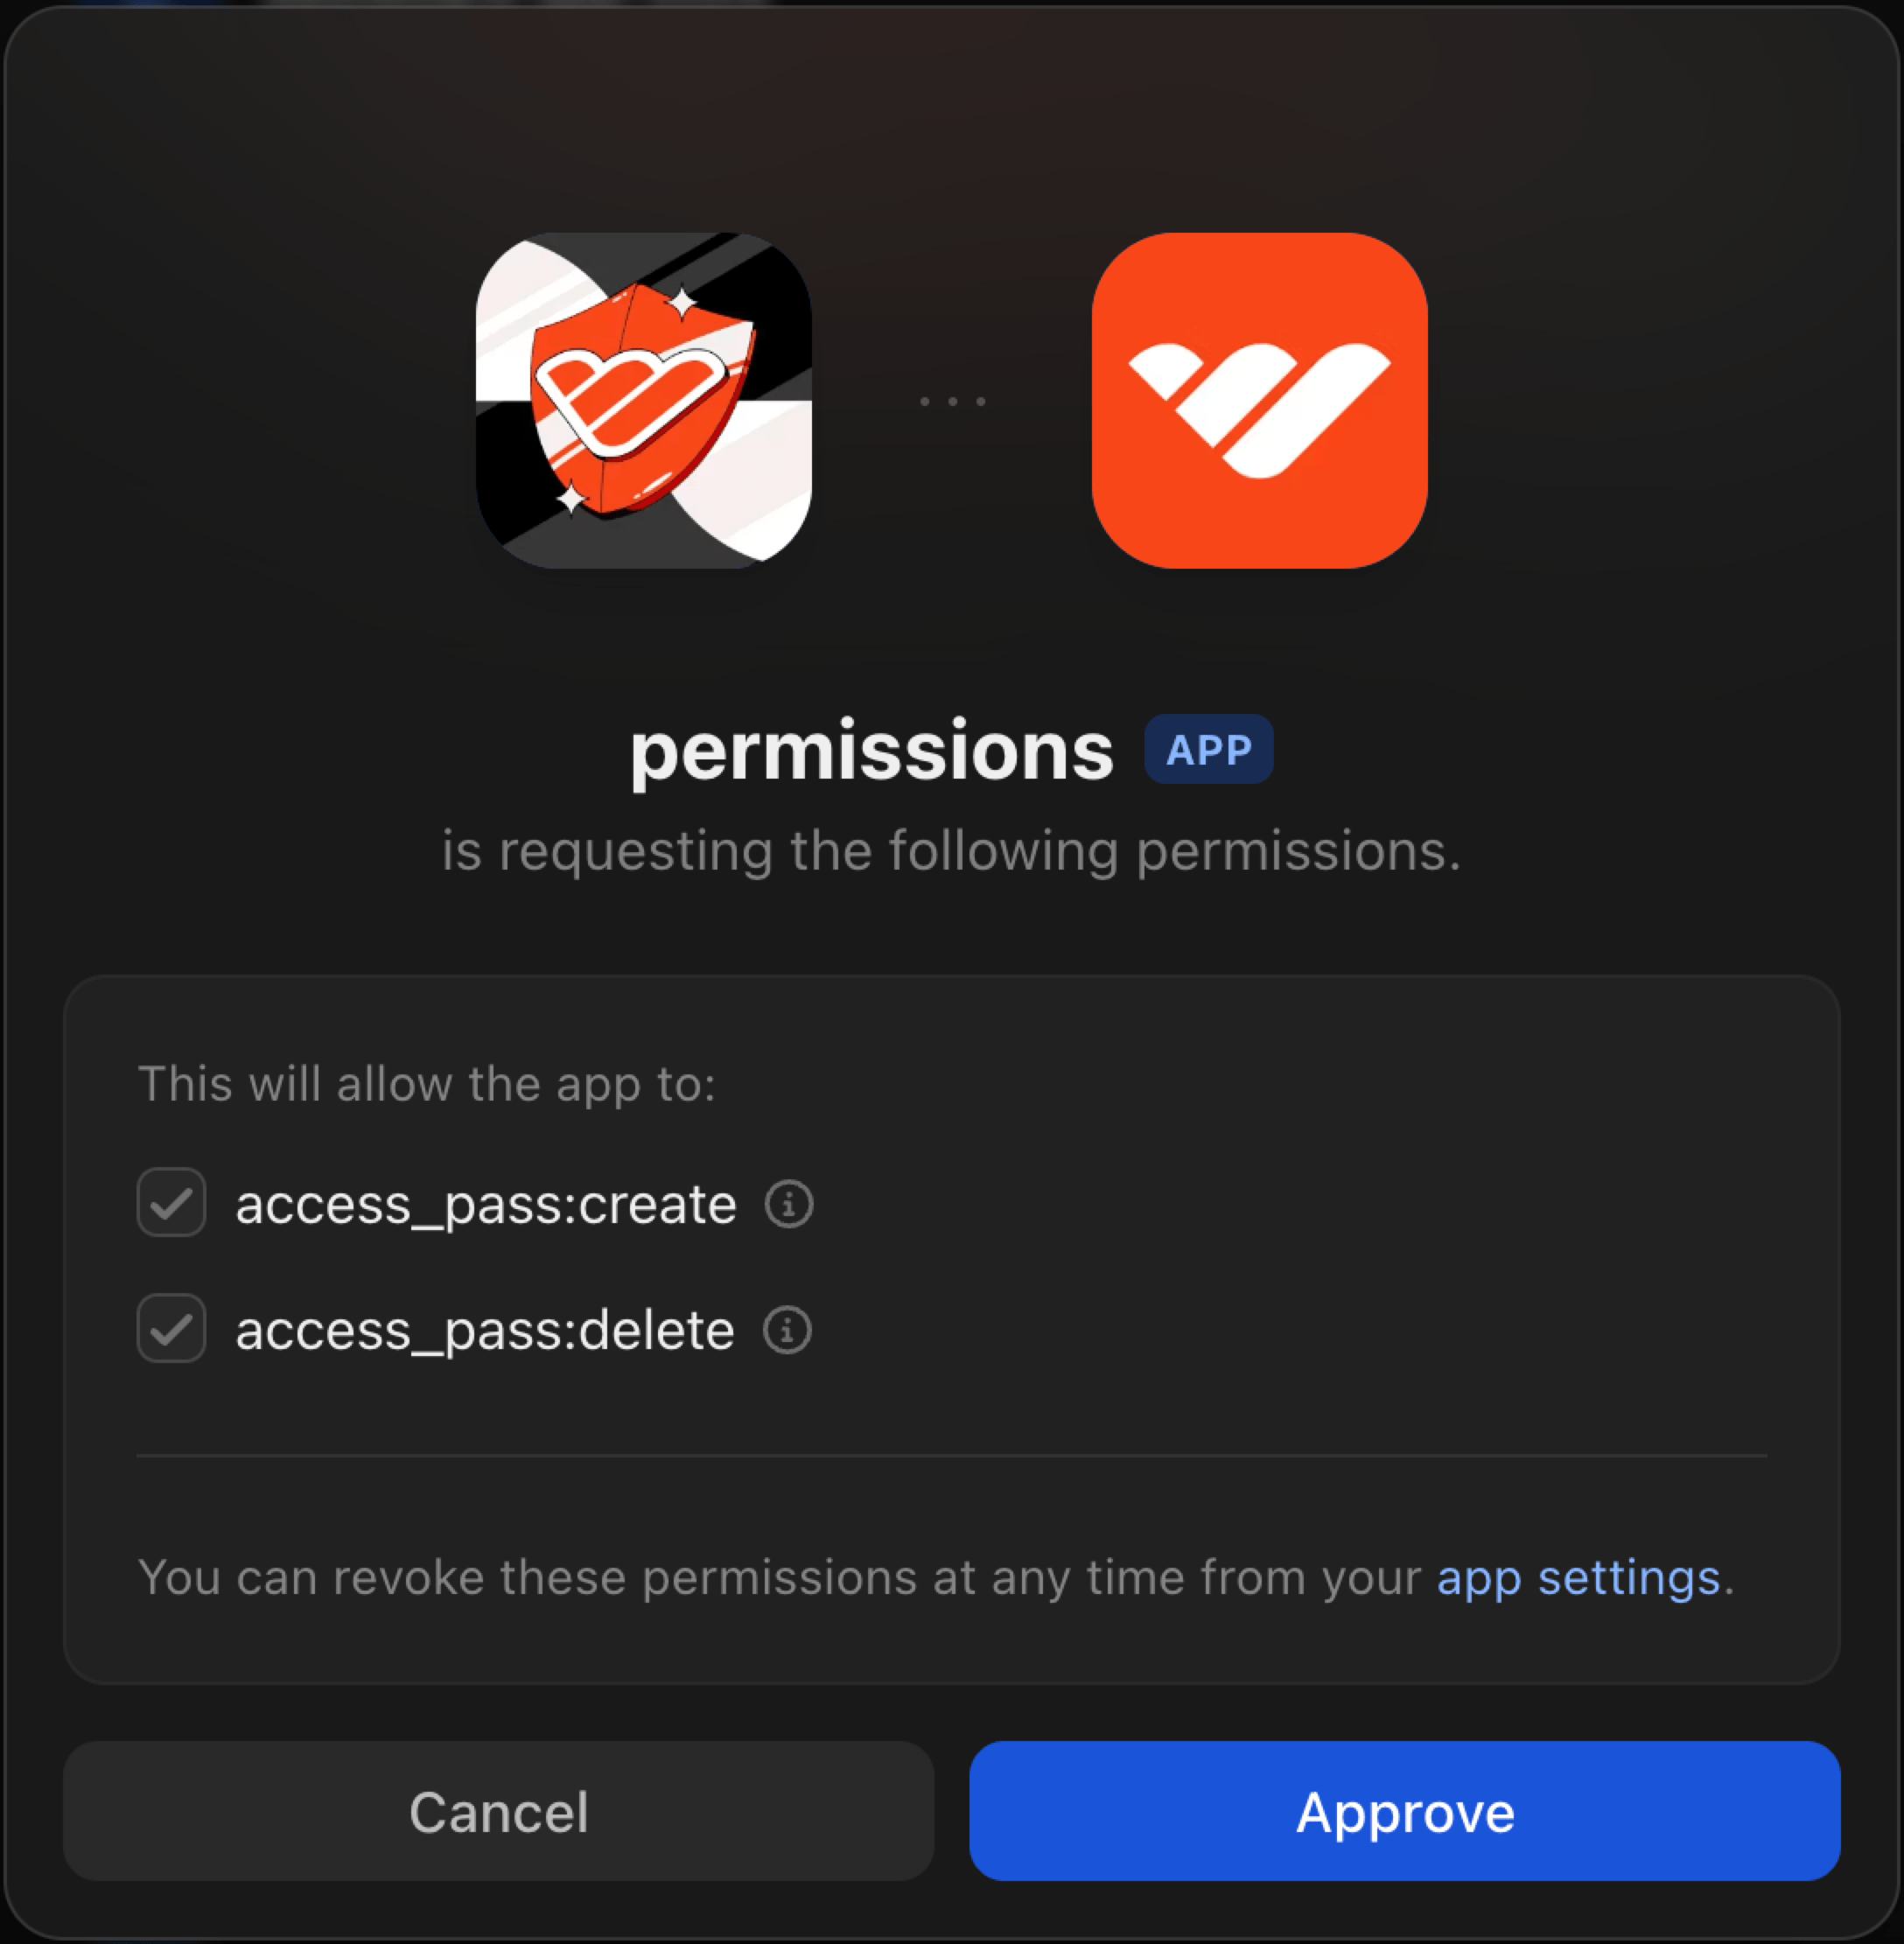
https://whop.com/apps/app_xxxxxxxxx/install.Pick a company, review the permission prompt, and approve.Update permissions later
Permissions can change as the app evolves. When you add a new one:- Existing installs see a Re-approve button next to your app.
- API calls that need the new permission fail until each creator re-approves.
When you add a permission, re-approve on your own test company too. New scopes don’t carry over until you accept them in Authorized apps.
Dashboard → Settings → Authorized apps.
Frequently asked questions
How many permissions can an app request?
How many permissions can an app request?
Up to 100 per app.
Where are the required permissions for an endpoint listed?
Where are the required permissions for an endpoint listed?
Each endpoint in the API reference lists its required permissions inline.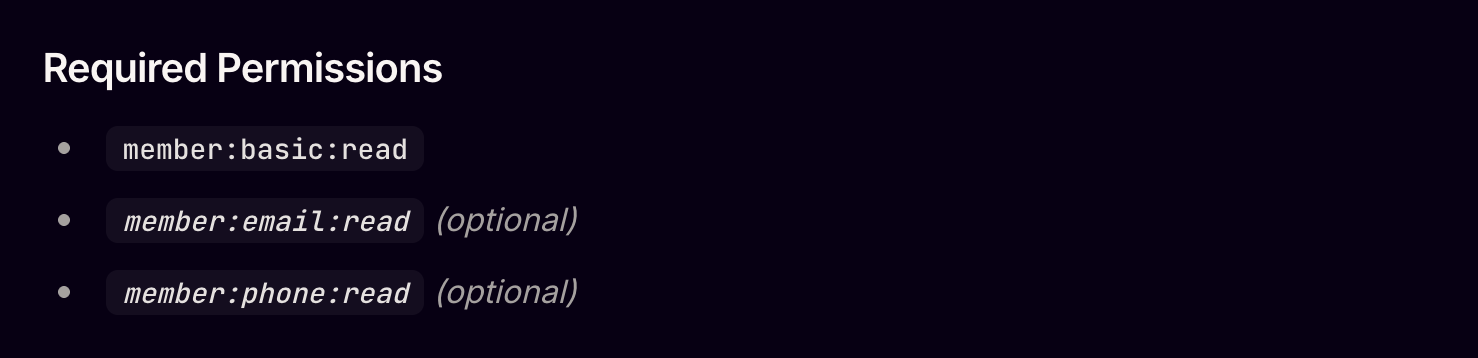
Can an app request additional permissions afterward?
Can an app request additional permissions afterward?
Yes. You can request additional permissions and the creator will be asked to re-approve them.
Until the permissions are re-approved, API requests requiring the newly requested permissions will fail. Make sure your code handles these errors and provides a useful fallback.
Next steps
Authentication
Verify the user behind a request and check their access level.
Listen to webhooks
Receive payment, membership, and entry events. Webhooks need their own
webhook_receive:* scopes.Build app views
Set up dashboard views, experiences, and discover listings.
Run a local development proxy
Match the production iframe + cookie setup on localhost.