

Domain verification is only required for embedded
checkout. Whop-hosted checkout pages already
support Apple Pay without any additional setup.
Prerequisites
Before setting up Apple Pay, check that you have:- A domain where you’re hosting the embedded checkout
- Access to your domain’s DNS settings (for Whop-hosted verification) or file hosting (for self-hosted verification)
@whop/checkout@0.0.43or later if using thehideSubmitButtonoption in React
Choose a verification method
There are two ways to verify your domain for Apple Pay:Whop-hosted verification
Recommended for most users. Whop handles the verification file hosting - you
just need to add DNS records.
Self-hosted verification
For advanced users who prefer to host the verification file themselves.
Whop-hosted verification
This method lets Whop host the Apple Pay verification file on your behalf. You’ll temporarily point your domain to Whop’s servers to complete verification, then revert your DNS settings.Before you begin: Take a screenshot or export your current DNS records for
the domain you’re verifying. While the verification wizard will show revert
instructions after completion, these are best-effort and may not capture all
edge cases. Having your own backup ensures you can restore your DNS
configuration accurately.
Step 0: Lower your DNS TTL (optional)
If the domain actively serves traffic, consider lowering the TTL (time to live) on its existing DNS record before starting. This change helps DNS updates propagate faster when you switch and revert records. If you skip this step, downtime may last longer while DNS caches expire.How to lower your TTL
How to lower your TTL
- Find the existing A or CNAME record for the domain you want to verify
(e.g., the record for
checkout.yoursite.com) 2. Lower its TTL to 60-300 seconds 3. Wait for the previous TTL duration to pass (e.g., if it was 1 hour, wait 1 hour) so all DNS caches refresh 4. Then proceed with the verification steps below
Step 1: Open payment domains settings
Navigate to your checkout settings and find the Apple Pay for embedded checkout section. Select Configure to open the domain management panel.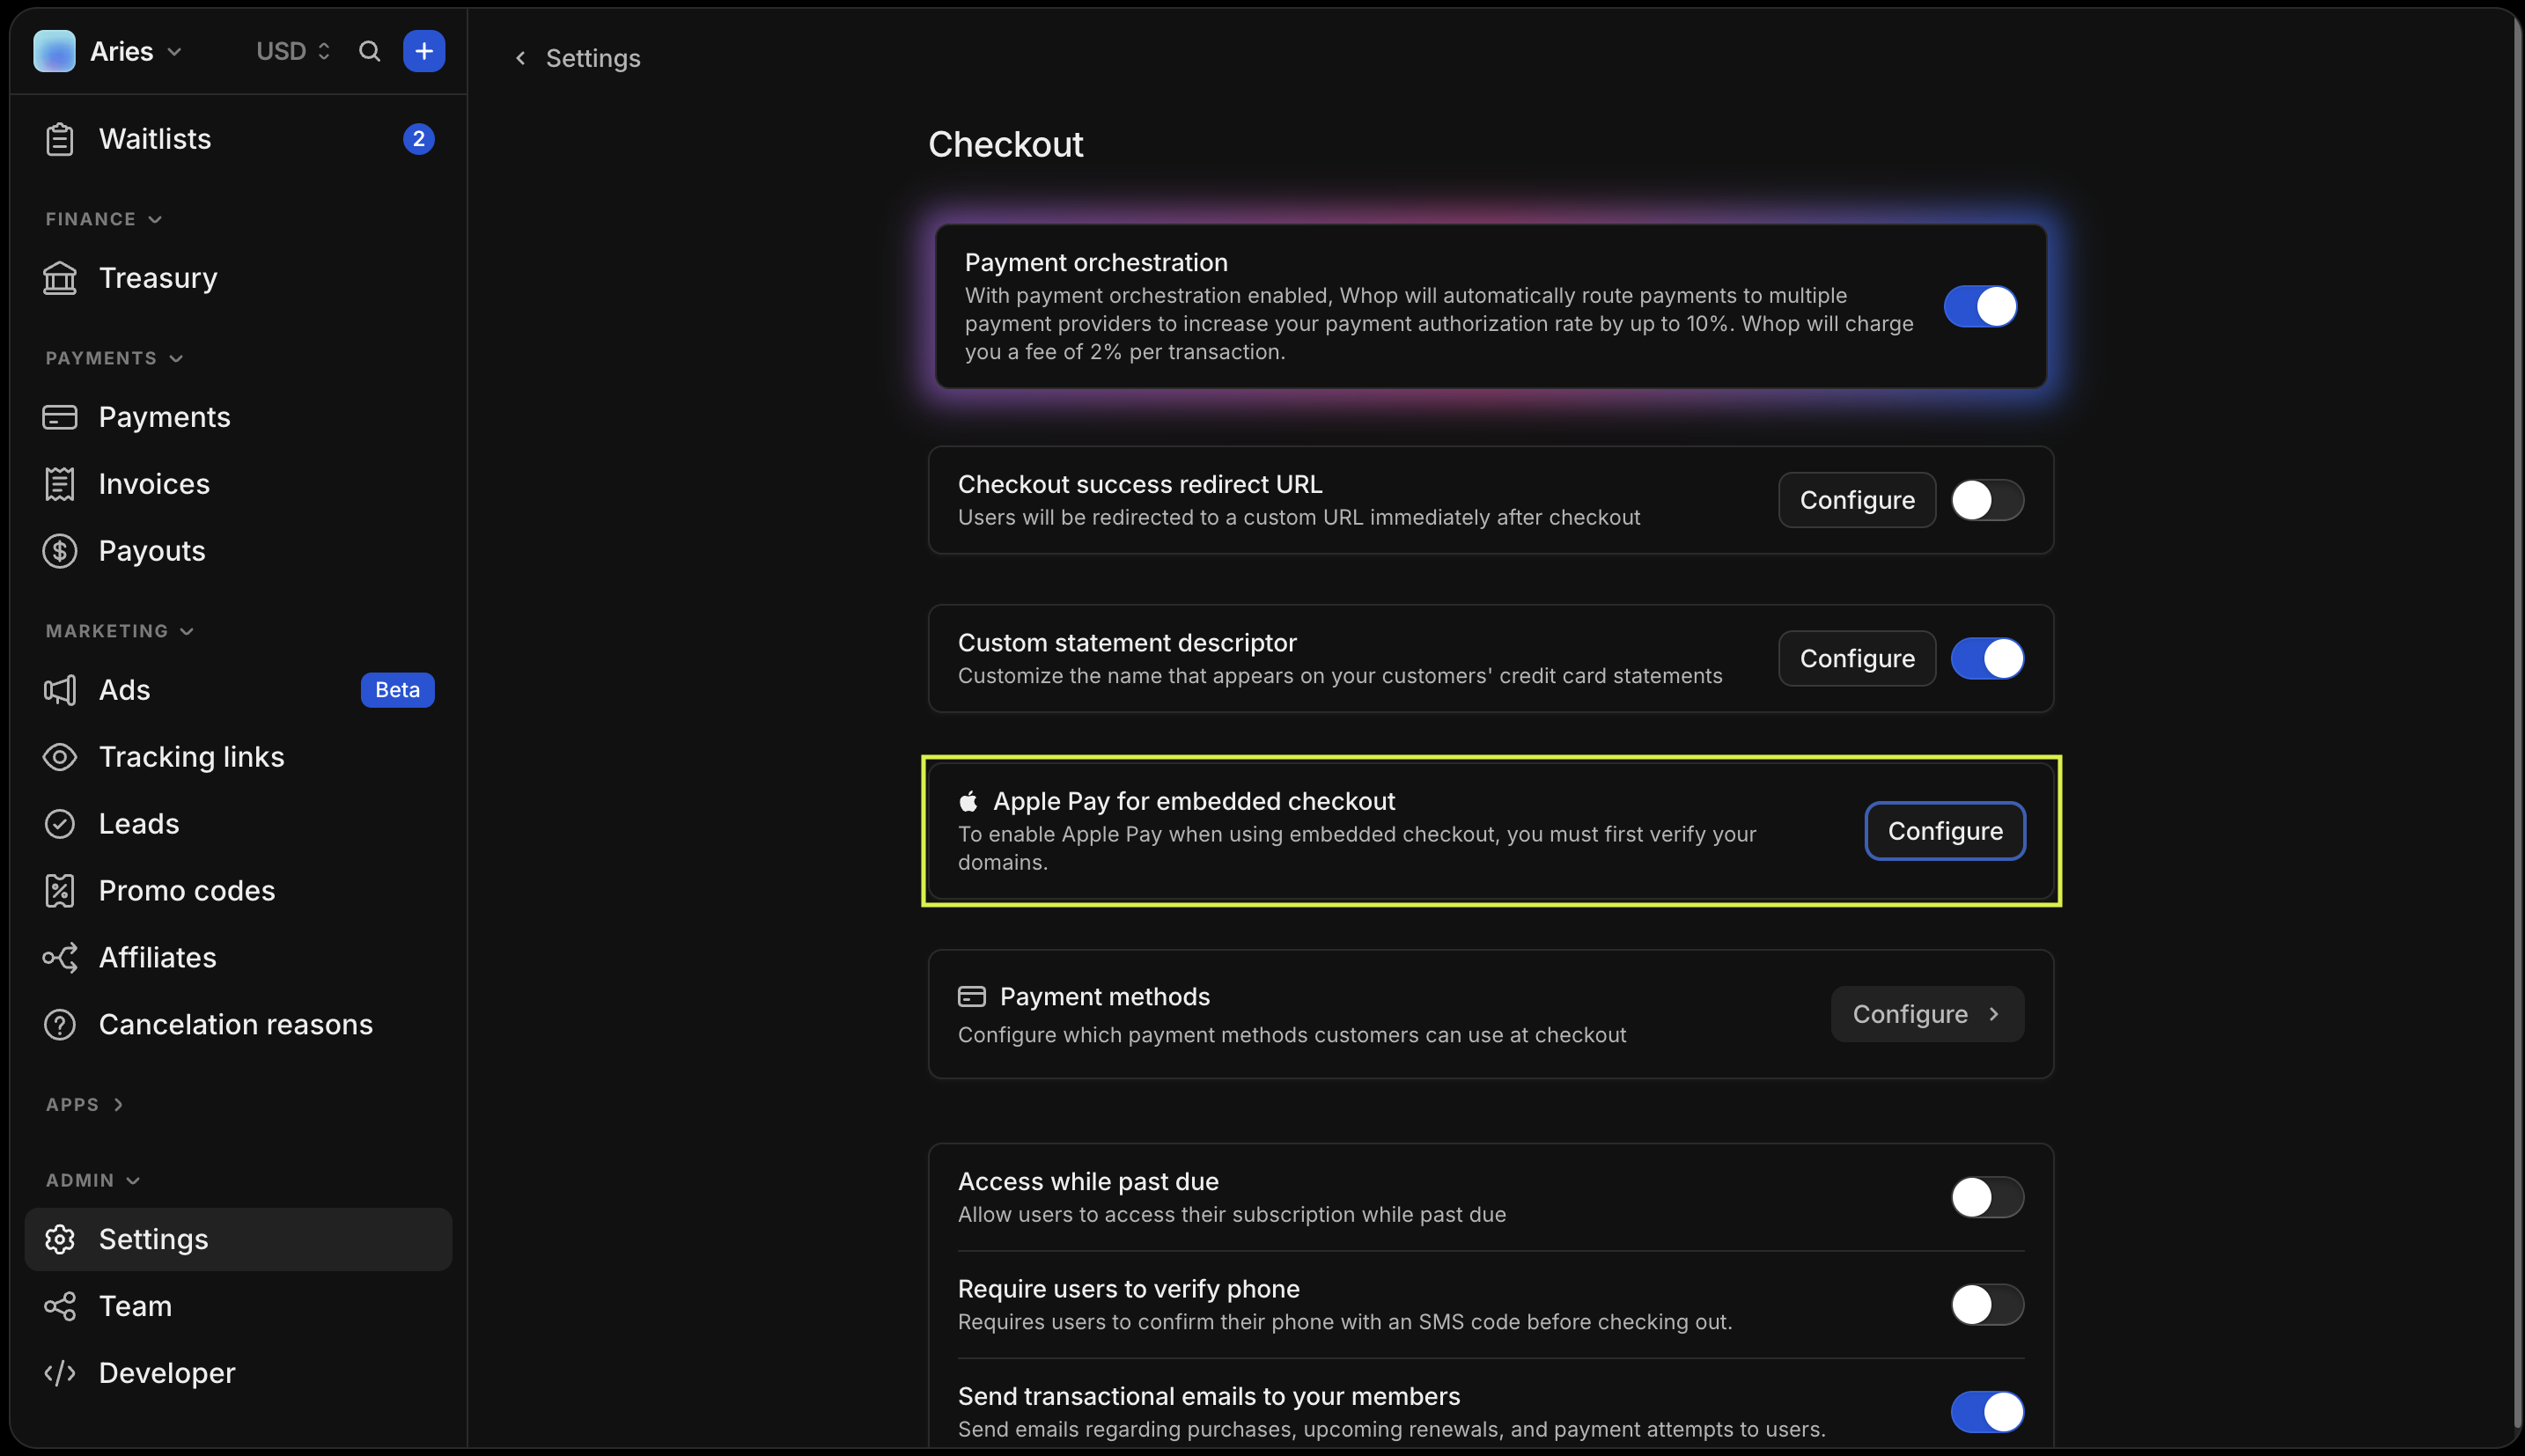
Step 2: Add your domain
Select the + button (or Add payment domain if no domains exist yet). From the dropdown menu, select Whop-hosted verification.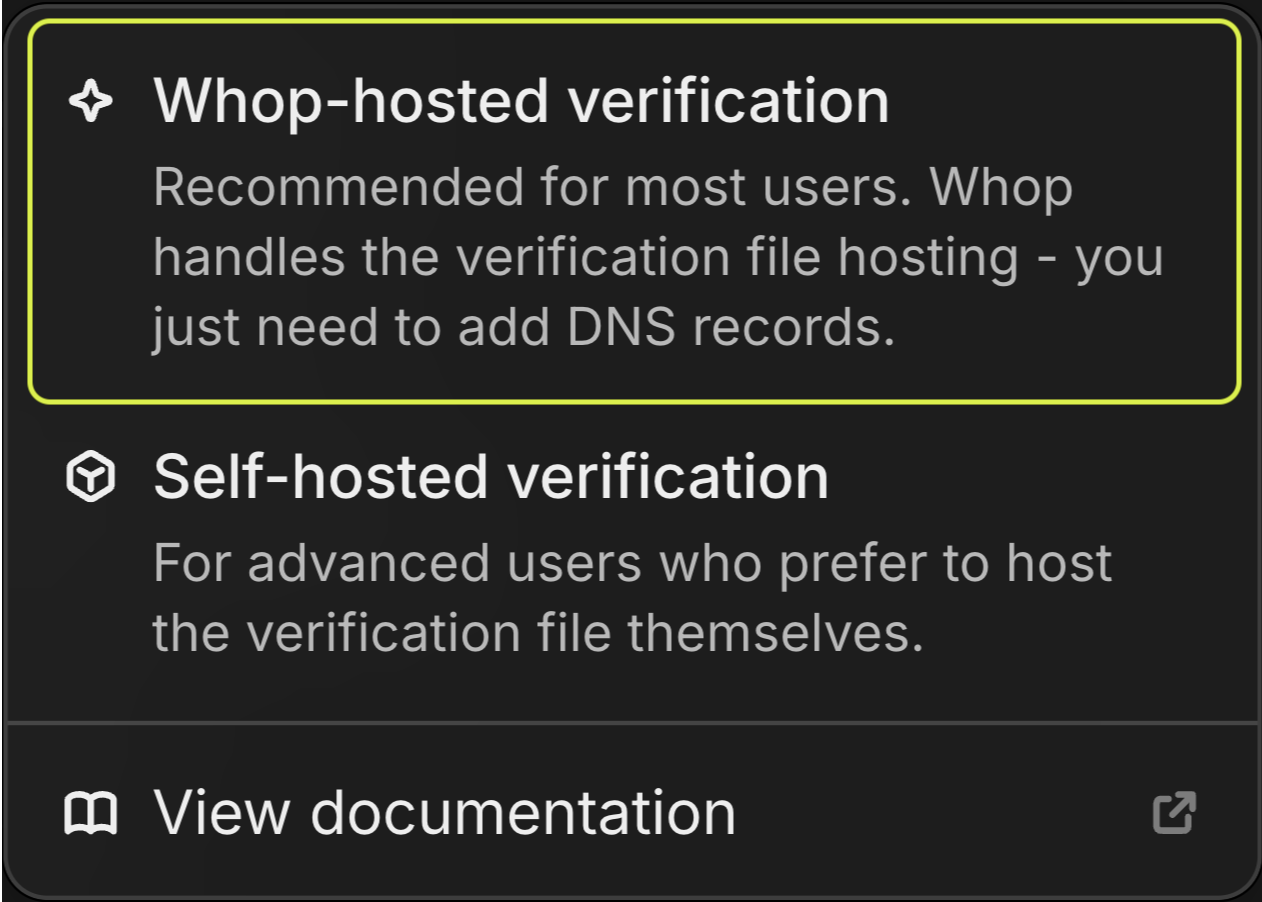
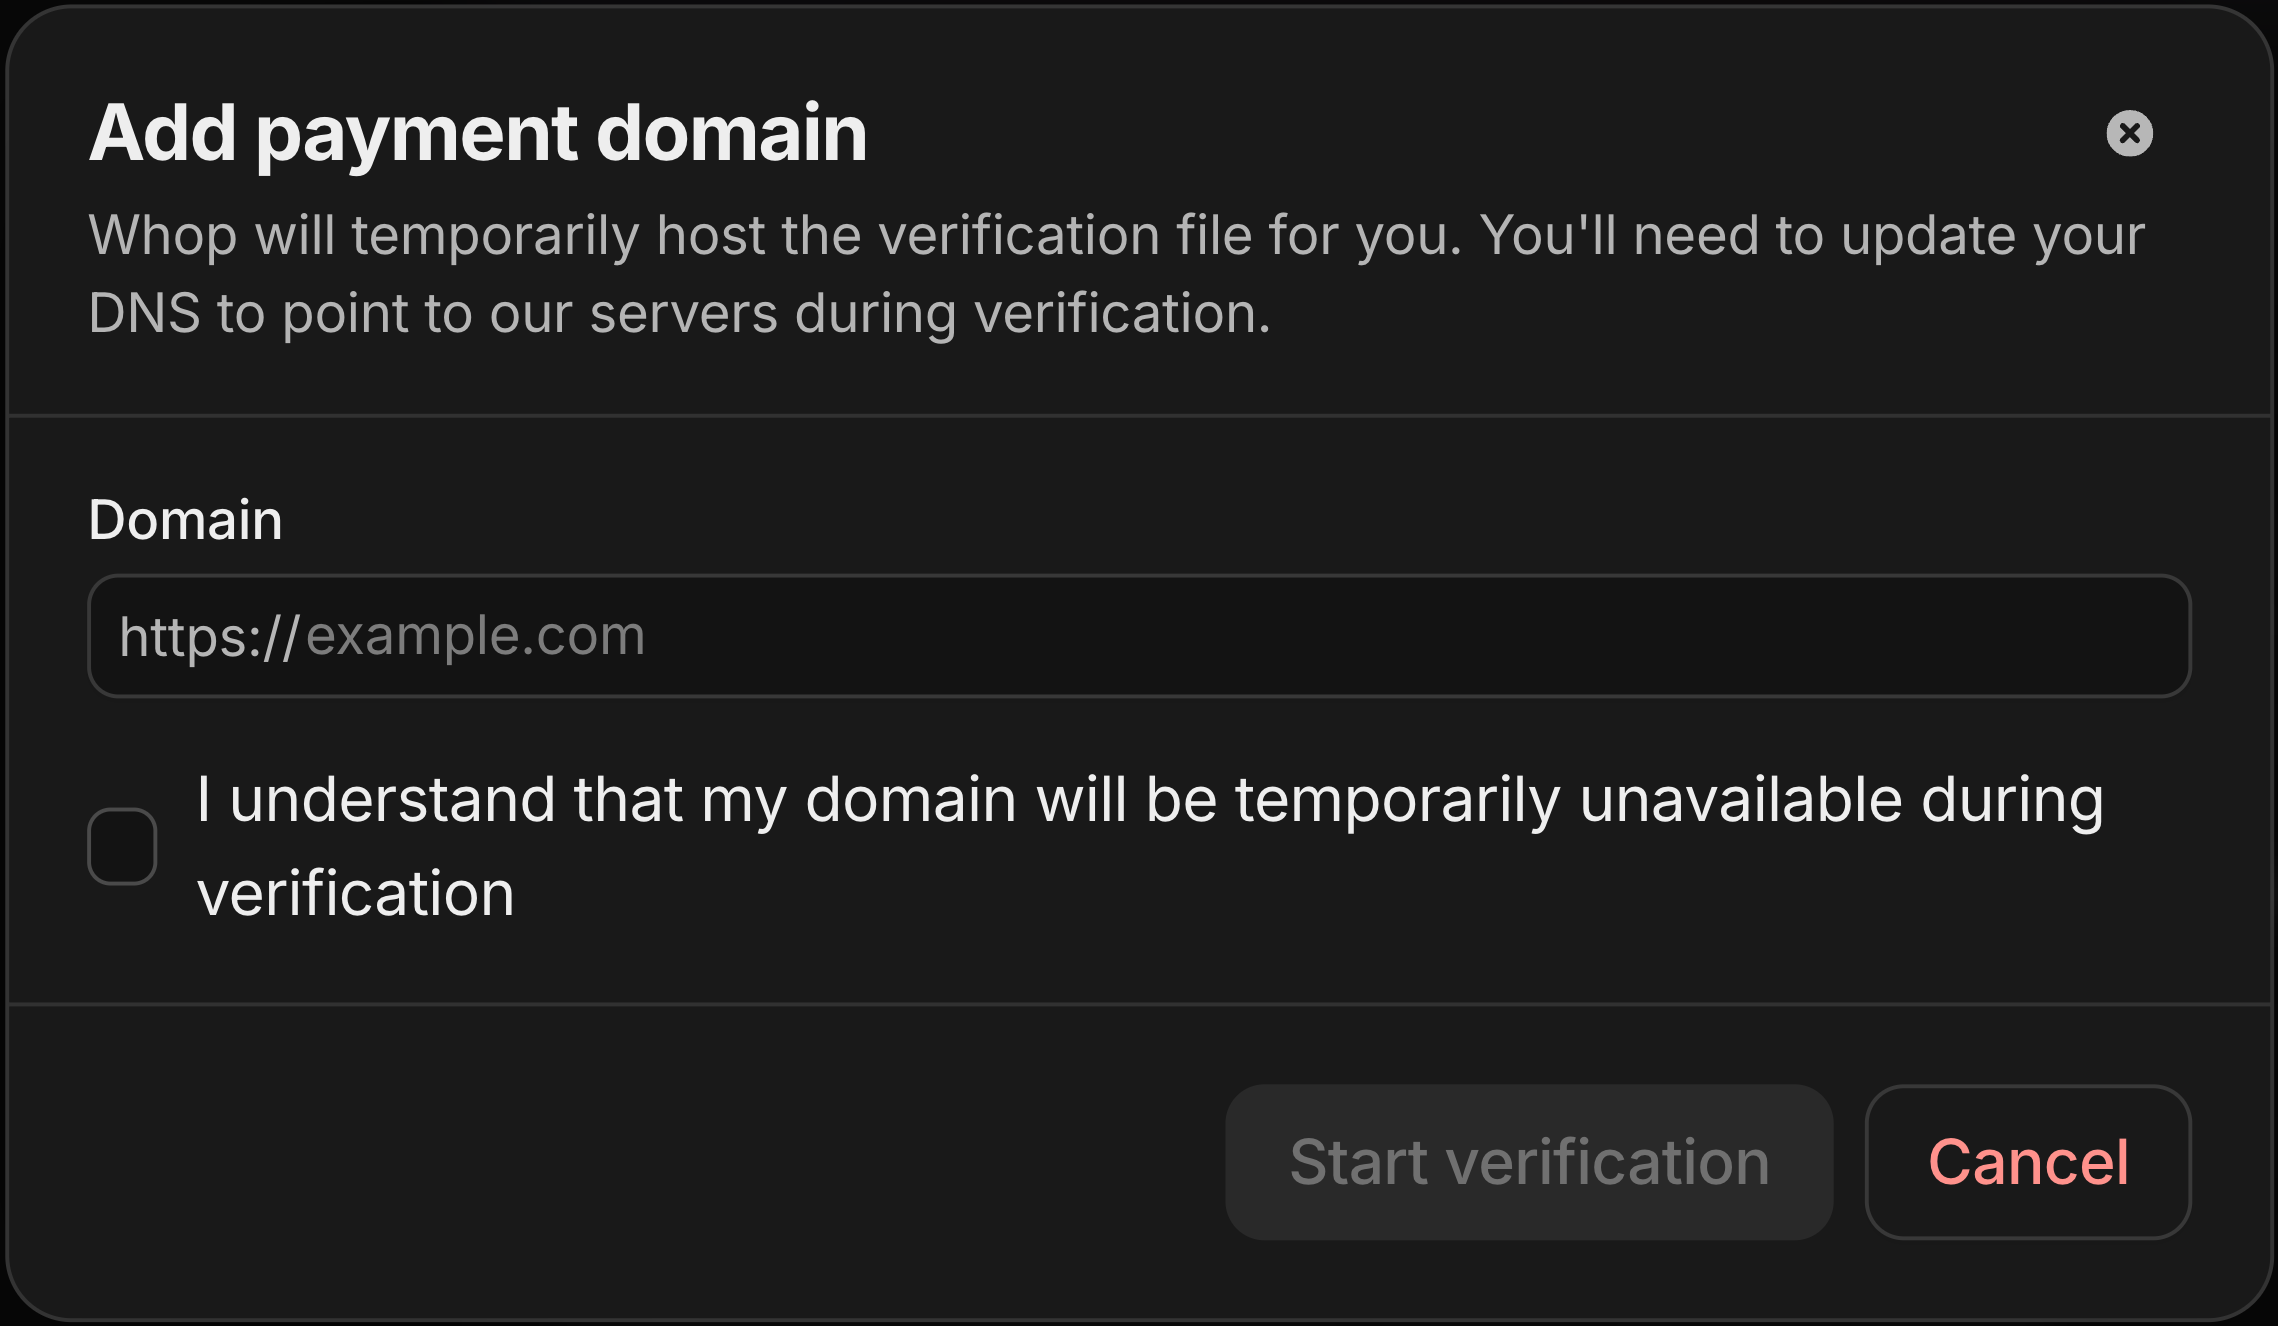
checkout.yoursite.com or yoursite.com). Acknowledge that your domain will experience temporary downtime by selecting the confirmation checkbox. Then select Start verification.
Step 3: Add DNS records
After adding your domain, you’ll see the DNS records to add in your domain’s DNS settings. These records typically include:- A record or CNAME record - Points your domain to Whop’s verification servers
- (optional) TXT record - Proves domain ownership
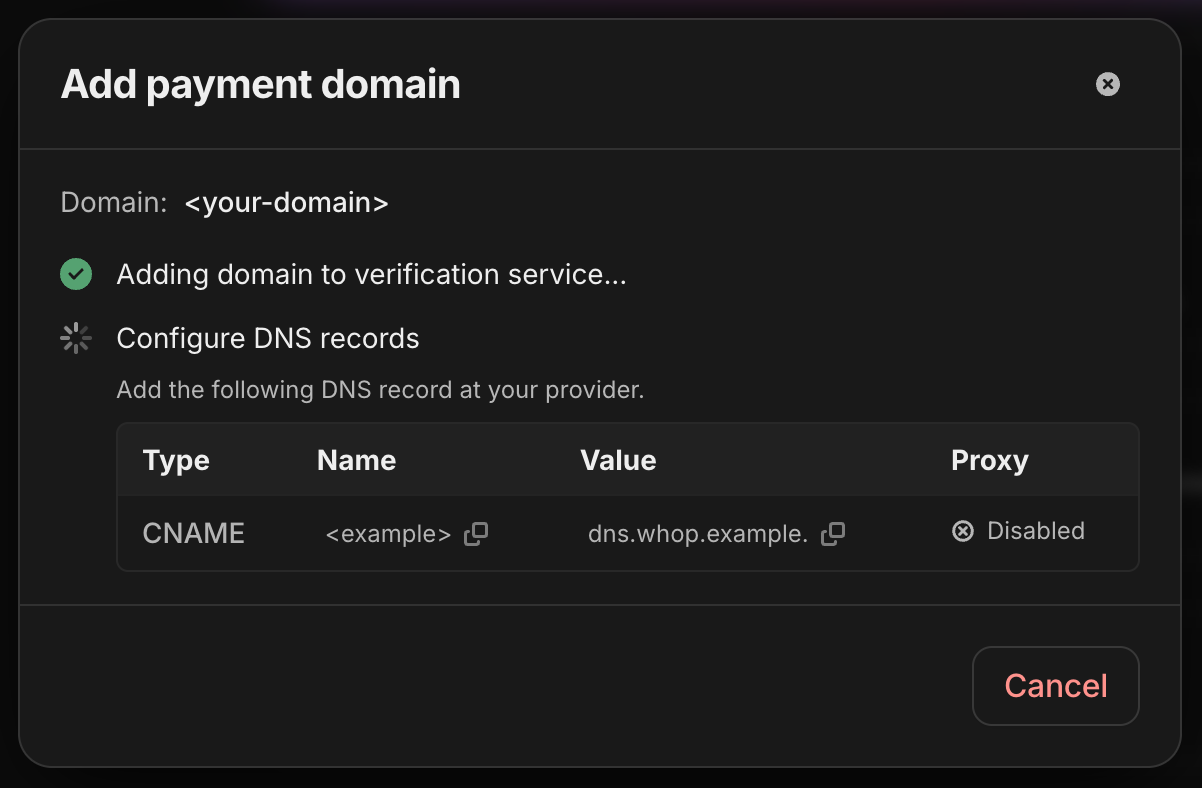

Example DNS configuration in Cloudflare
Step 4: Wait for DNS propagation
DNS changes can take anywhere from a few minutes to 48 hours to propagate, though most changes appear within 5–15 minutes. The verification wizard automatically detects the configured DNS records.Step 5: Complete verification
After Whop verifies the DNS records, it will:- Issue an SSL certificate for your domain
- Host the Apple Pay verification file
- Register your domain with Apple
Step 6: Revert DNS settings
After verification, revert your DNS settings to point back to your original hosting. The Apple Pay verification will remain valid. The wizard will show you the records to delete and restore.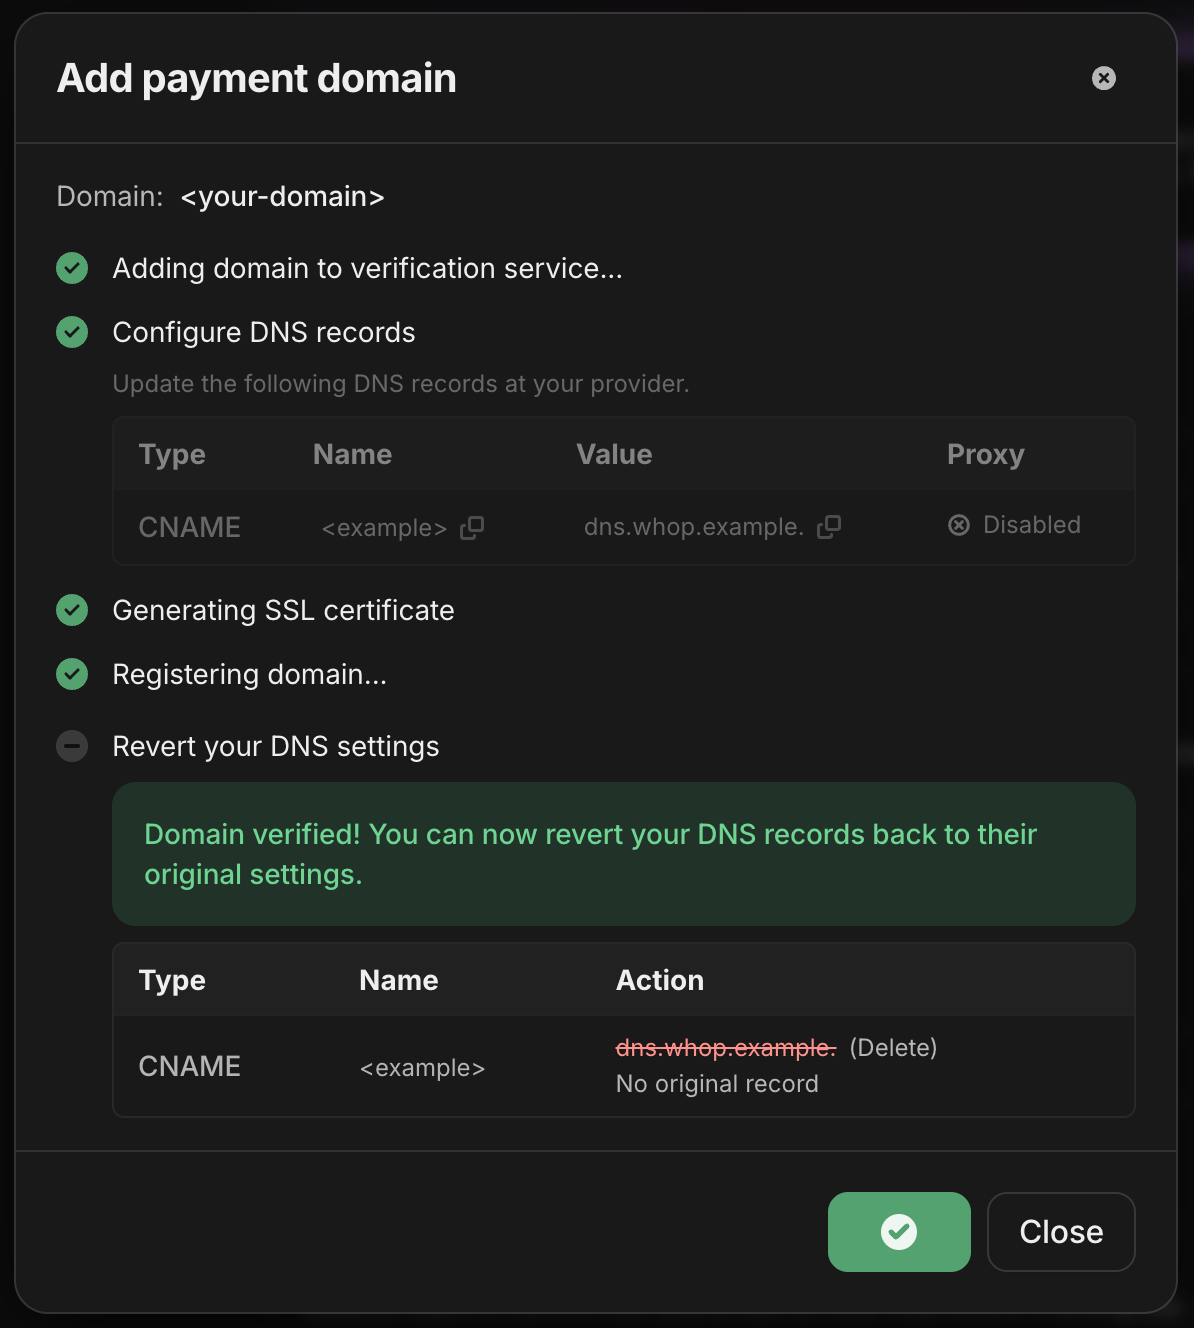
Self-hosted verification
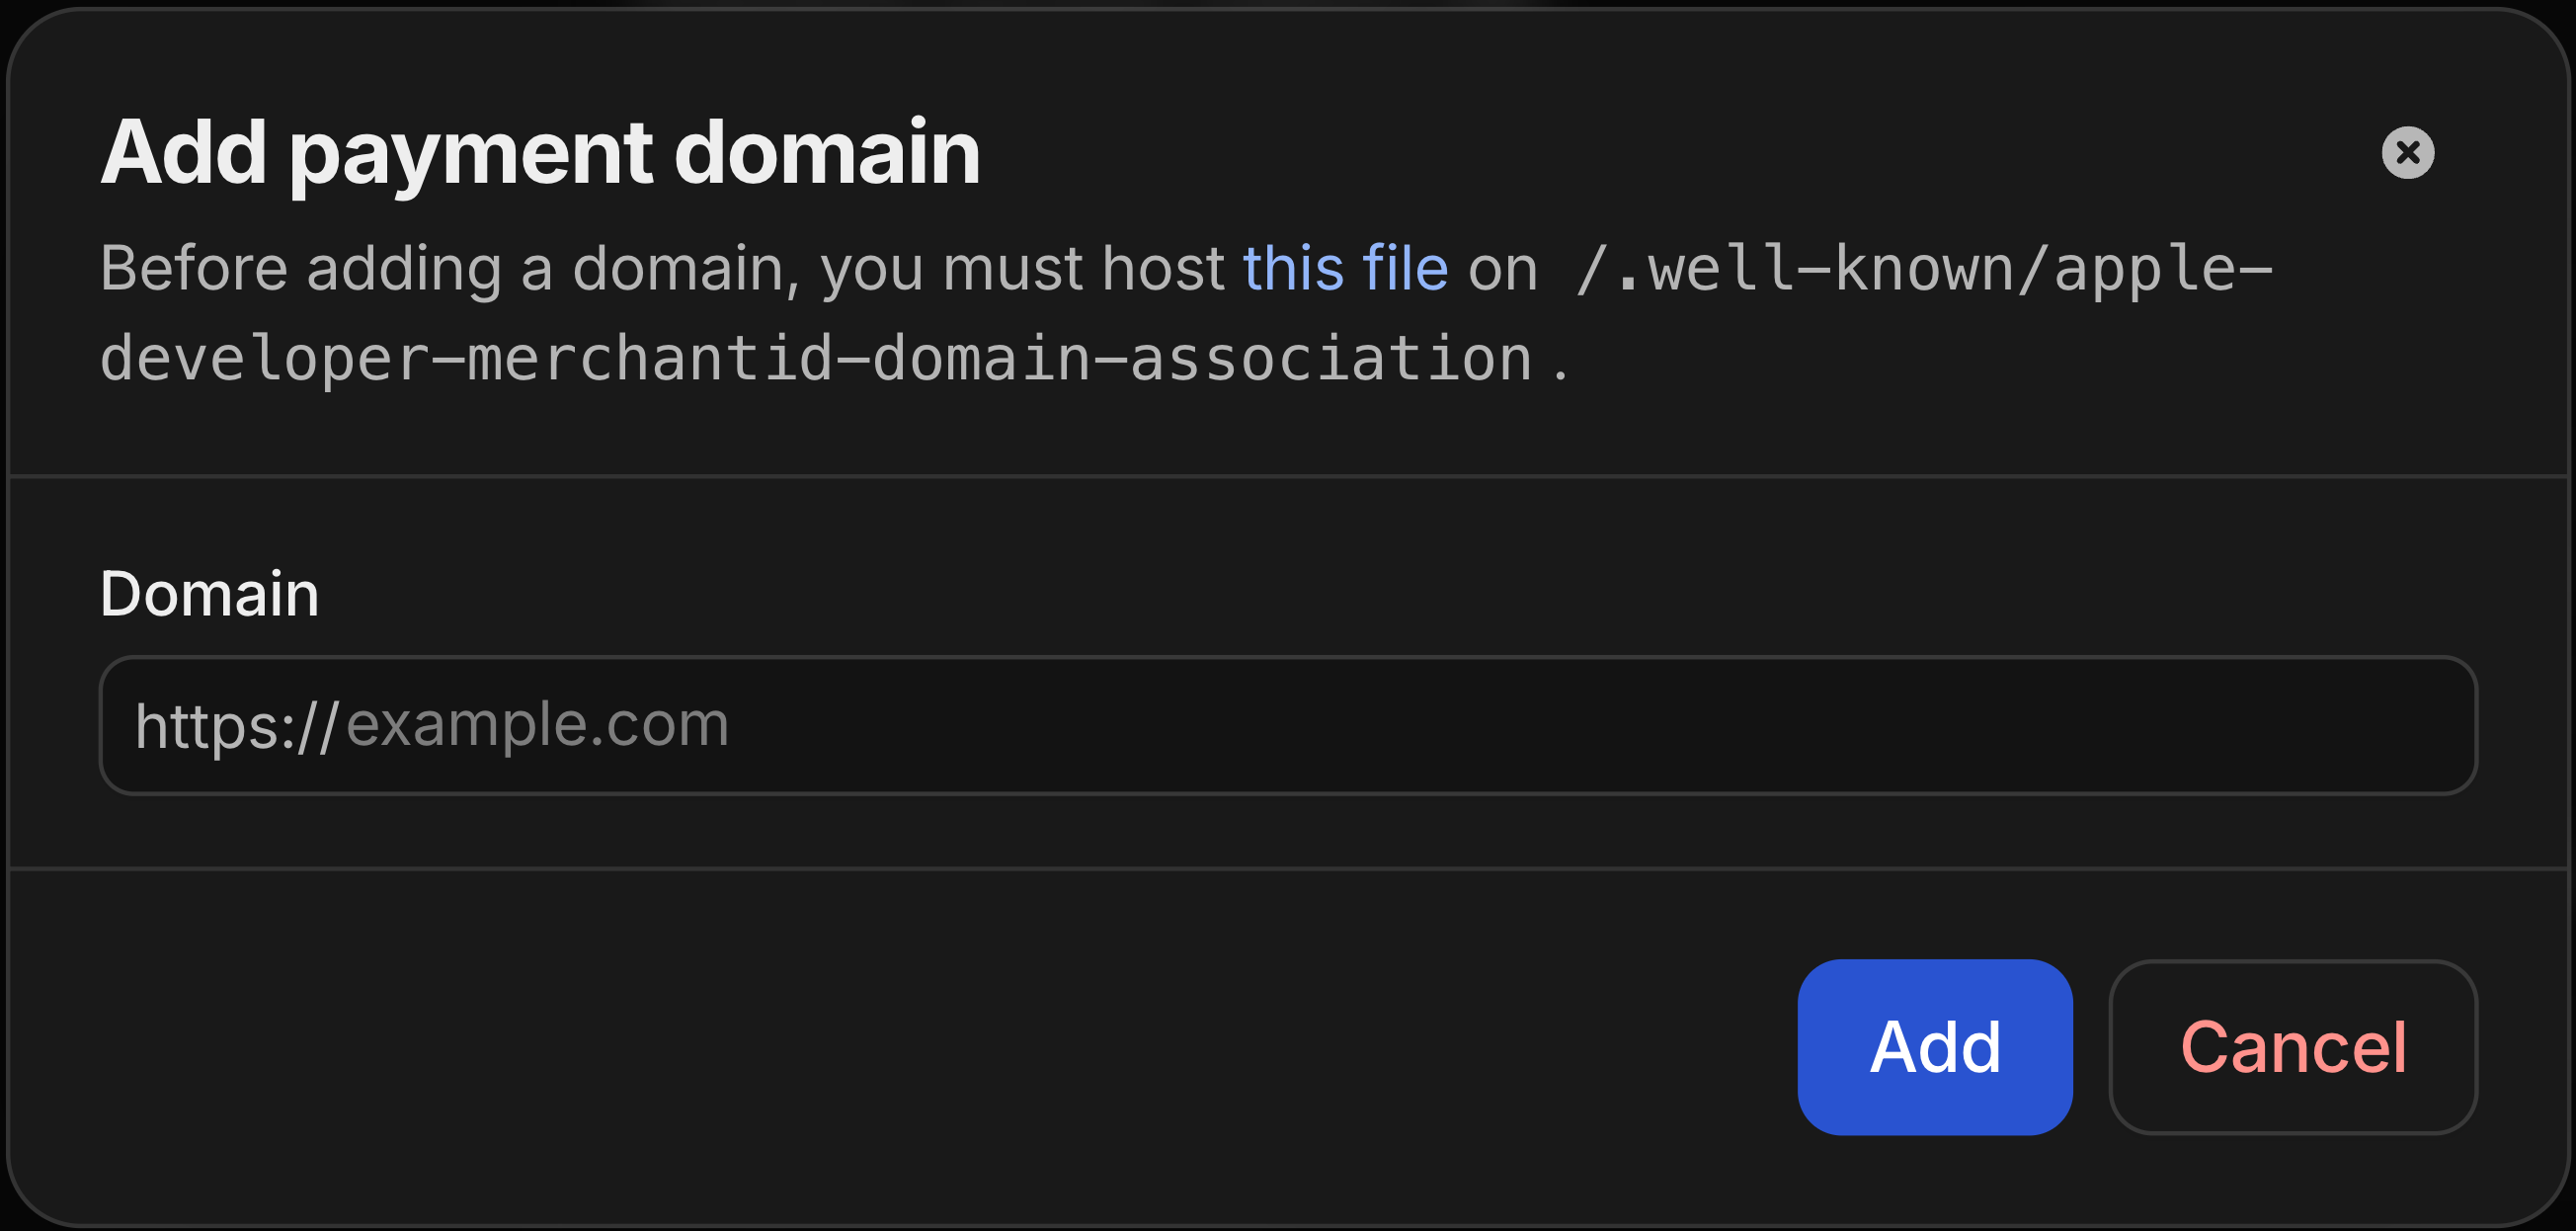
If you prefer to host the verification file yourself, you can do so by serving the Apple Pay merchant ID domain association file at a specific path on your domain.Step 1: Download the verification file
Download the Apple Pay verification file.Step 2: Host the file
Host this file at the following path on your domain:- Served over HTTPS
- Accessible without authentication
- Served with the correct content (no modifications)
- Next.js
- Nginx
- Vercel
- Cloudflare Pages
Place the file in your
public folder:Step 3: Verify file access
Test that you can access the file by visiting:Step 4: Open payment domains settings
Navigate to your checkout settings and find the Apple Pay for embedded checkout section. Select Configure to open the domain management panel.Step 5: Register your domain
Select the + button (or Add payment domain if no domains exist yet). From the dropdown menu, select Self-hosted verification.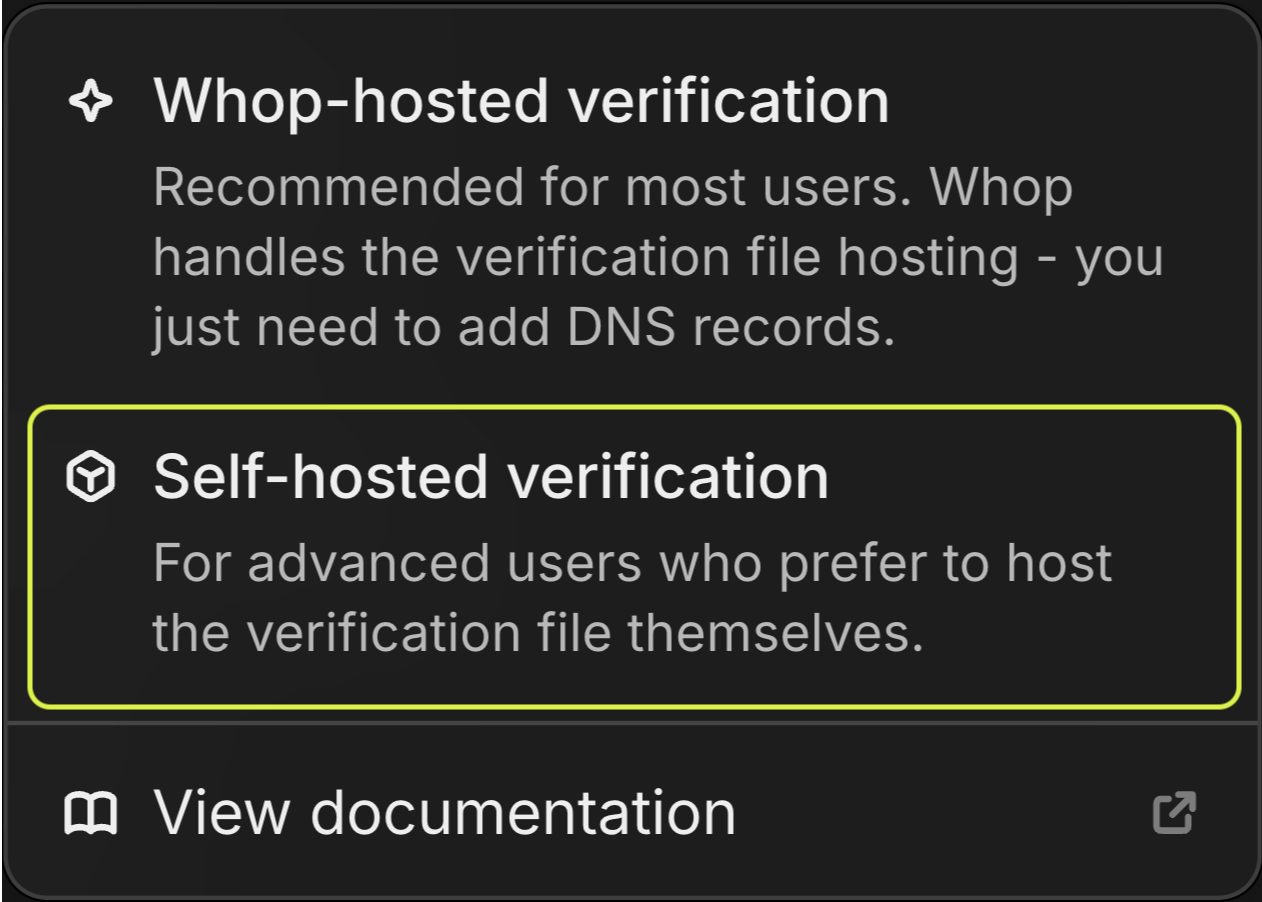
Troubleshooting
DNS verification is taking too long
DNS verification is taking too long
- DNS propagation can take up to 48 hours.
- Use a tool like dnschecker.org to verify your records have propagated.
- Make sure you’ve added the records to the correct DNS zone.
- If using Cloudflare, use “DNS only” (gray cloud) for the DNS record, not “Proxied” (orange cloud), during verification
SSL certificate verification failed
SSL certificate verification failed
- Make sure your DNS records point to the correct values.
- Wait a few minutes while the certificate authority issues the certificate.
- If the issue persists, try removing and re-adding the domain
Self-hosted file returns 404
Self-hosted file returns 404
- Verify the file is in the correct location:
/.well-known/apple-developer-merchantid-domain-association. - Check that your web server serves files without extensions.
- Make sure your hosting configuration doesn’t block the
.well-knowndirectory.
Next steps
Embedded Checkout
Learn how to embed Whop checkout on your website
Checkout Links
Create shareable checkout links for your products